Category: 1000 Little Things

Videos from YouTube no longer showing Related Videos

If you have a video of your listing, be sure to include it on your TourVista virtual tour.  Here’s how:

  1. Upgrade your virtual tour to Premium
  2. Upload your video to your YouTube account
  3. Copy the video ID from YouTube
  4. Paste the video ID into the Video section of your virtual tour

Now a Video tab will show on your virtual tour page & widgets that includes your video from YouTube.  

Plus, thanks to the suggestion from Phyllis R., the “Related Videos” from YouTube are no longer showing when your video finished playing on your virtual tour.  Not only is this a better experience for your viewers (no need to show them content that is not specifically about your property) but if your property is in an MLS you don’t have to worry about getting any fines.  Some MLS’s are very strict about what you can and cannot show about a property online.

#21 – When Google Maps Fails… TourVista to the Rescue!

Google Maps is great and most of the time it works as expected.  But every once in a while, for whatever reason, it won’t map your property correctly.  This is annoying and ruins all of the effort you’ve put into creating your virtual tour on TourVista.  

Previously, you had to contact us and we would manually update your mapping.  As you know, TourVista is all about do-it-yourself solutions, so we’ve made some improvements to our tour management interface and now you can easily modify the mapping of your property as it shows on Google Maps!

Here’s a video tutorial from our founder Matt Cassarino explaining the deets:

#20 – Social Media Improvements to Our Blog

Social Media Icons from SharebarHey All,

We’ve given our real estate marketing blog some much needed love by adding a few cool social media improvements:

  1. Notice on the left the super cool social media share box.  This makes it a breeze to share a great blog post with your social network.  And check out what happens when you scroll the page down… how cool is that!  Thanks Sharebar for the great WordPress plugin.
  2. Next we added a list of Related Posts at the bottom of each post.  A great way to showcase useful and related content on our blog.
  3. In the Comments section there is checkbox for staying in the loop as comments are posted to a conversation — cool.
  4. And last but not least, at the bottom of each blog post we’ve included links to the next and previous posts for easy browsing.

Now, admittedly, none of the above is that impressive (well, the sharebar one is pretty slick), but the point is (a) that we are continually working to improve our website and blog, and (b) that there are some social media improvements in the works for your virtual tours at TourVista.com.

#19 – Point Users in the Right Direction with Interactive Floor Plans

We’ve heard from some of our users that people may not know to mouseover the interactive floor plans in order to view the arrows and each respective photograph.  Leaving out this instructive text was a deliberate design decision as we wanted to keep the tour player free of unnecessary content.  However, at the same time, if a user doesn’t realize that their is an interactive floor plan and never experiences that aspect of the virtual tour, that’s an even greater loss.

So we’ve updated the TourVista source code to give the best of both worlds.  Now you can choose whether or not to show a message informing the users that they should mouseover the interactive floor plan in order to use it.  And you can even customize the message text for each of your virtual tours with interactive floor plans!

Thanks to Eric from Chicago for this suggestion.  Check out his virtual tour in Chicago’s Garfield Ridge.  As always, let us know what you think and if you have any ideas for improving TourVista, we’re listening.

#18 – Easily Transfer a Virtual Tour Between Accounts

In case you ever need to transfer a virtual tour between accounts, don’t waste your time in recreating it!  Just follow the steps outlined in this tutorial and quickly move a virtual tour from one TourVista account to another.

Note: if you are transferring a Premium virtual tour to a Free account or an account that has already used up all of its Premium virtual tours, the transferred Premium tour will be automatically downgraded to Free.  However, don’t worry about losing any of the data from the tour.  The receiving account can simply upgrade to a larger Premium plan and then upgrade the transferred virtual tour back to its Premium status.

#17 – Add Google Analytics to Your Virtual Tours!

Google Analytics to Track Virtual Tour Statistics

We are happy to announce support for Google Analytics on TourVista’s  real estate marketing platform.  In addition to the built-in statistics that TourVista provides all user accounts, it is now possible to track your virtual tour statistics using Google Analytics.  Here’s how:

  1. Copy your Google Analytics tracking code.  It will be in this format: UA-12345678-1
  2. Login to your TourVista account and select the tour you want to track stats.
  3. Select “Analytics (Stats)” from the “This Tour” drop down menu.
  4. Paste your Google Analytics tracking code from step 1 into the field.
  5. To quickly apply the same Google Analytics tracking code to ALL virtual tours in your account, just mark the checkbox.
  6. Save.

Any tour views you get from this point on will be tracked in your Google Analytics account (although it will take a few hours for the stats to start showing in Analytics).

#16 – Link to Your Website from a Virtual Tour

Now you can easily link your TourVista virtual tours to another website.  When editing your tour, in the description, highlight the text and add the link.  You can choose to link in a new window or the same window. The following screencast shows you how:

iPad + Your TourVista Virtual Tours = Gorgeous!

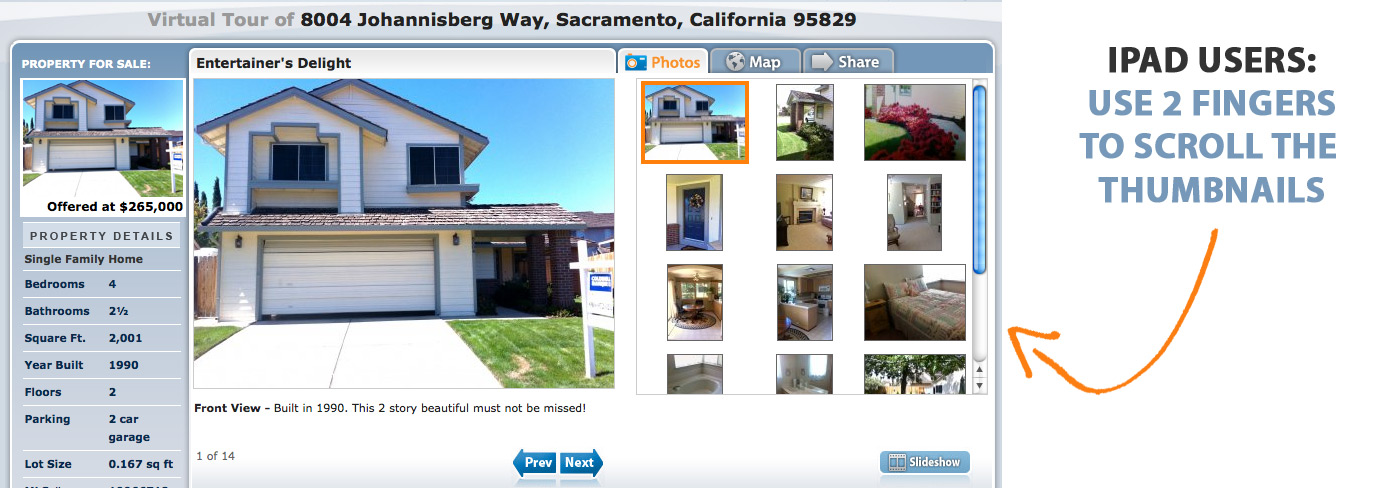
Your property virtual tours look great on Apple’s new iPad.

However, at first, it appears that you can’t scroll the thumbnail photos on the iPad.

Use 2 fingers to scroll the thumbnail box on your iPad

iPad doesn’t support inline scrolling.  Inline means a scroll box within the web page.  The thumbnail photo box is an inline scroll box.  So is the property description (if you have a lot of text in there).

Turns out the solution is simple. To scroll an inline scroll box, use two fingers and swipe up or down.  That’s how you scroll an inline scroll box.

#15 – Add HTML to your virtual tour description

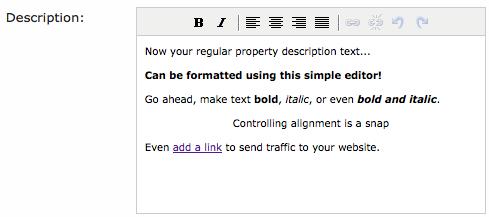
Thanks to Jodi of Minnesota for requesting that we add rich text editor to the tour description field.

Rich text editor to quickly format your tour description

Access the rich text editor by (1) selecting your virtual tour and (2) selecting Property Details.  You’ll see the description box at the bottom of the Property Details page.  Just point, click and edit away!

#14 – Carport option added to Parking Spaces

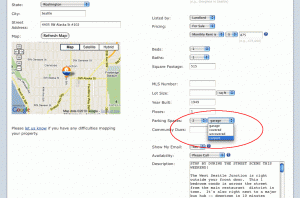
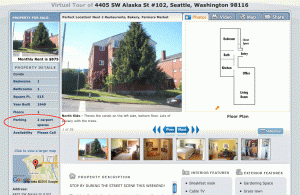
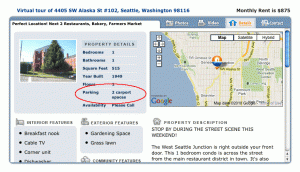
Thanks to Keisha for suggesting that we add a parking option for “carport”.

Carport option added to virtual tour parking spaces
Carport option added to Virtual Tour Details
Carport option showing on virtual tour page
Carport option showing on Virtual Tour Web Page
Carport option showing on virtual tour widget
Carport option showing on Virtual Tour Widget

Let us know if you have ideas for improving TourVista!