Blog

#19 – Point Users in the Right Direction with Interactive Floor Plans

We’ve heard from some of our users that people may not know to mouseover the interactive floor plans in order to view the arrows and each respective photograph.  Leaving out this instructive text was a deliberate design decision as we wanted to keep the tour player free of unnecessary content.  However, at the same time, if a user doesn’t realize that their is an interactive floor plan and never experiences that aspect of the virtual tour, that’s an even greater loss.

So we’ve updated the TourVista source code to give the best of both worlds.  Now you can choose whether or not to show a message informing the users that they should mouseover the interactive floor plan in order to use it.  And you can even customize the message text for each of your virtual tours with interactive floor plans!

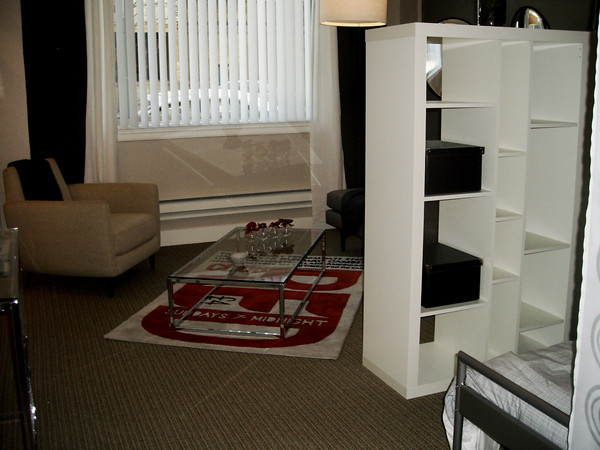
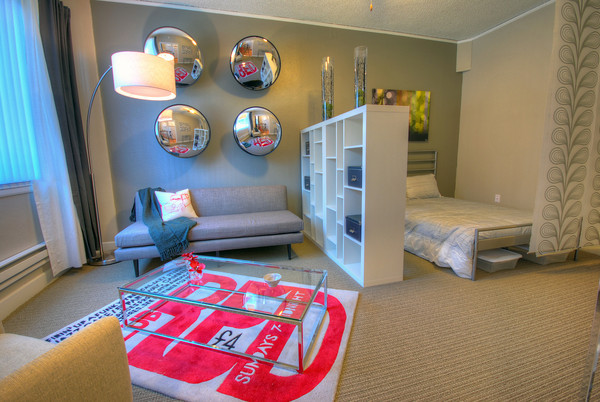
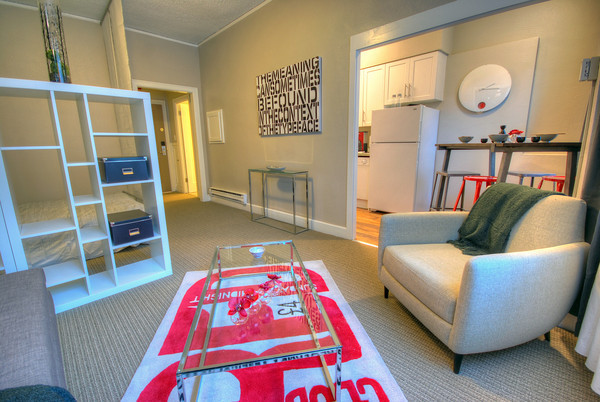
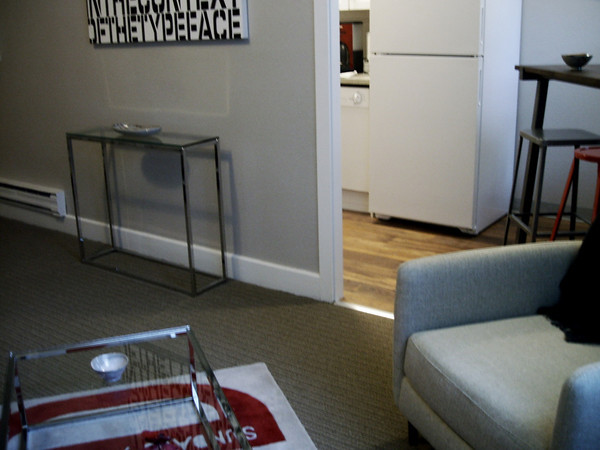
Thanks to Eric from Chicago for this suggestion.  Check out his virtual tour in Chicago’s Garfield Ridge.  As always, let us know what you think and if you have any ideas for improving TourVista, we’re listening.

#18 – Easily Transfer a Virtual Tour Between Accounts

In case you ever need to transfer a virtual tour between accounts, don’t waste your time in recreating it!  Just follow the steps outlined in this tutorial and quickly move a virtual tour from one TourVista account to another.

Note: if you are transferring a Premium virtual tour to a Free account or an account that has already used up all of its Premium virtual tours, the transferred Premium tour will be automatically downgraded to Free.  However, don’t worry about losing any of the data from the tour.  The receiving account can simply upgrade to a larger Premium plan and then upgrade the transferred virtual tour back to its Premium status.

Add a YouTube Video to Your Virtual Tour

Today we launched an update to TourVista’s real estate marketing platform that allows our Premium users to include a YouTube video on their virtual tours.  This is a fantastic enhancement and we encourage everyone to take advantage of using video for marketing their properties online.

What if I don’t have a video of each property?
No problem! Instead of a property video, many real estate agents include a short personal video.  Doing so allows them to add additional personalization to their virtual tours and helps to generate new customers.

Do I have to upload my video to YouTube first?
Yes, you do not upload your property/personal video to TourVista.  Instead, upload your video to your YouTube account, then copy/paste the YouTube video ID on to the Video page of your virtual tour, as the above video tutorial demonstrates.  If you don’t have a YouTube account, set one up — they are free and it only takes a few minutes.

Does it benefit my and/or my property to post the video on YouTube?
Yes! Absolutely!  YouTube is one of the most trafficked websites on the Internet.  Many people use the search tool on YouTube to find videos to watch.  While at this time, YouTube is not what we would consider a “real estate search portal”, it doesn’t hurt to have extra exposure for your properties and your business online.

Plus, YouTube has a world-class hosting platform and converts your videos so they can be seen on mobile browsers, too.  Add to that “video streaming” (which means you can jump to a section of the video that hasn’t downloaded yet) and there’s really no reason to not publish your videos to YouTube.

Remember, the Internet is a tool that you can use to better market your properties and your business. TourVista helps you do both!

Should I Hire a Professional to Take My Real Estate Photos?

Sometimes point & click camera’s don’t cut it.  See the difference for yourself between my hand held point & click and my professional quality Nikon digital SLR camera with wide angle lens.

Click on the photos below to launch the slideshow comparison.  Once the slideshow is launched, click on the right side of the photo to view the next, or the left side to view the previous photo.

The equipment you use can make a big difference to your end results.  A wide angle lens can help your photos stand out.  However, not many (if any) point & click cameras you would carry around have the option for a wide angle lens.  I used the exact same camera angle in all these shots with both cameras zoomed all the way out…see for yourself.  A tripod can also really help, but I’m sure most people don’t carry one around with them, nor do they have one for their point & click camera.  It’s a really useful tool in creating professional quality photos.

Another item setting professionals apart from those who do it themselves is editing software.  At TourVista we use HDR technology (High Dynamic Range) to get a more vivid feel for what the image really looks like in person versus the single exposure setting you would take with a personal point & click camera.  Using editing software such as Photoshop or online editors like Picnik.com can save you when you’re underexposed or shots are tilted.  But learning how to use them is a major time commitment you should be prepared for if you want your shots to turn out great.

#17 – Add Google Analytics to Your Virtual Tours!

Google Analytics to Track Virtual Tour Statistics

We are happy to announce support for Google Analytics on TourVista’s  real estate marketing platform.  In addition to the built-in statistics that TourVista provides all user accounts, it is now possible to track your virtual tour statistics using Google Analytics.  Here’s how:

  1. Copy your Google Analytics tracking code.  It will be in this format: UA-12345678-1
  2. Login to your TourVista account and select the tour you want to track stats.
  3. Select “Analytics (Stats)” from the “This Tour” drop down menu.
  4. Paste your Google Analytics tracking code from step 1 into the field.
  5. To quickly apply the same Google Analytics tracking code to ALL virtual tours in your account, just mark the checkbox.
  6. Save.

Any tour views you get from this point on will be tracked in your Google Analytics account (although it will take a few hours for the stats to start showing in Analytics).

Cool Virtual Tour in Queensland!

Here’s a shout out to Grant Walker of Queensland, Australia, for the awesome virtual tour with interactive floor plan.  Nicely done Grant!

cool-virtual-tour-in-queensland

#16 – Link to Your Website from a Virtual Tour

Now you can easily link your TourVista virtual tours to another website.  When editing your tour, in the description, highlight the text and add the link.  You can choose to link in a new window or the same window. The following screencast shows you how:

iPad + Your TourVista Virtual Tours = Gorgeous!

Your property virtual tours look great on Apple’s new iPad.

However, at first, it appears that you can’t scroll the thumbnail photos on the iPad.

Use 2 fingers to scroll the thumbnail box on your iPad

iPad doesn’t support inline scrolling.  Inline means a scroll box within the web page.  The thumbnail photo box is an inline scroll box.  So is the property description (if you have a lot of text in there).

Turns out the solution is simple. To scroll an inline scroll box, use two fingers and swipe up or down.  That’s how you scroll an inline scroll box.

#15 – Add HTML to your virtual tour description

Thanks to Jodi of Minnesota for requesting that we add rich text editor to the tour description field.

Rich text editor to quickly format your tour description

Access the rich text editor by (1) selecting your virtual tour and (2) selecting Property Details.  You’ll see the description box at the bottom of the Property Details page.  Just point, click and edit away!